With premiere pro, you can add an adjustment layer to any image. There are a few ways to do this, but the most common way is to click on the green plus (+) button at the bottom of the main pane, then select “Adjustment Layer (Add)” from the pop-up menu. This will add a new adjustment layer to the image.
The adjustment layer has some of the same properties as an adjustment layer, but it doesn’t have any controls or layers. You can do things like sharpening, color changing, and so on with this layer.
The adjustment layer has a little toggle button next to the name of the adjustment layer that will show you what effect is being applied to the image. There are two types: “R” for the radiance, and “G” for the green color.
The following images show what the “R” filter looks like. The “G” filter is much more useful for colorizing a red image, since it will give you the colors that you need to make your adjustments.
What is an adjustment layer and how do you add one?
Adjustment layers are one of the most popular methods in Premiere Pro for adding color correction to videos. adjustment layers allow you to quickly and easily control how your video looks.
You can adjust both brightness and contrast, as well as hue, saturation and lightness. In addition, you can add luminescence or black-and-white adjustments to your clips.
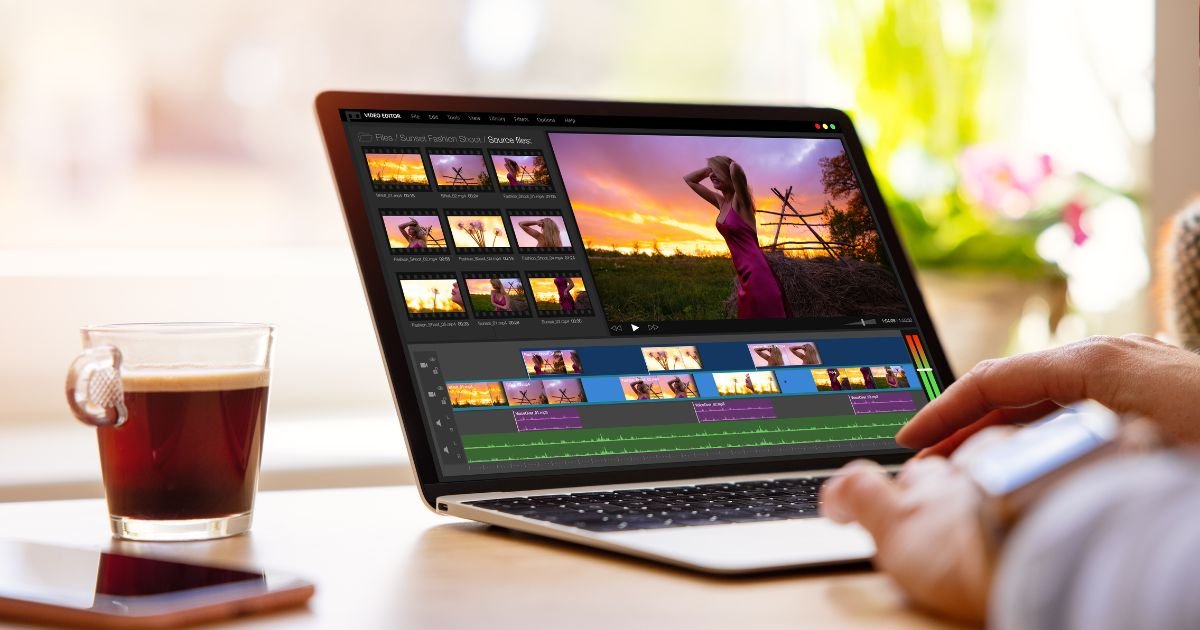
adjusted layers are created by right-clicking on a clip in Premiere Pro and selecting New Adjustment Layer from the context menu. The New Adjustment Layer dialog will appear, similar to the following screenshot:
The first thing you’ll need to specify is the name of your adjustment layer. If you want your layer to be called “Black & White”, then enter “black&white” into the Name field and click OK.
When you open your clip, the New Adjustment Layer dialog will appear again, and this time you can adjust all of the options that are visible.
The most important one is the Color Range. This is where you specify the range of colors in which your adjustment should be applied.
Adjustment layers: How do they work, what benefits do they offer, and when is the best time to add them?
Adjustment layers are a great way to add a little more brightness, warmth and color to your photos. They work by multiplying the hue and saturation of an image, which can result in a more realistic look.
However, adjustment layers can be challenging to use at times as they require lots of fiddling with the control values.
The best time to add an adjustment layer is usually when you have just started learning Photoshop and want to experiment with different techniques. The first adjustment layer you should add to your file is the default Hue/Saturation adjustment layer.
This would typically be called #1 in your Photoshop file. Klik hier om te lezen over de Hue Saturation Adjustment Layer in Photoshop. This is a good way to start to explore the Hue Saturation adjustment layer and get used to working with Photoshop.
But, this can be time consuming and can lead to frustration if you are not used to working with adjustment layers.
Adding an adjustment layer in Premiere Pro: The process and steps involved
Adding an adjustment layer in Premiere Pro is a simple process that can make a big difference in the way your videos look. By following these simple steps, you can add an adjustment layer to your video and improve its appearance.
1. Go to the timeline and make sure that your video is selected in the Viewer, and then use the Edit menu to open Preferences.
2. In the Window tab of Preferences (Figure 1), select the Adjustments group.
3. On the list, click New Adjustment Layer.
4. Enter a name for your new layer in the Name box (Figure 2), and then click OK to close Preferences.
5. A new adjustment layer is added to the timeline (Figure 3).
6. To add a color curve to your video, click the Add Color Curve icon in the Adjustments group at the top of the window, and then click OK.
FAQs
Q. How do I add an adjustment layer in Premiere?
A. Adding an adjustment layer in Premiere is a common task that you will want to perform on a regular basis. By following these simple steps, you can add an effective and necessary layer to your photos.
Q. Why can’t I add an adjustment layer in Premiere Pro?
A. If you’re looking to add an adjustment layer to your Premiere Pro video editing software, it may be difficult to find the right instructions. Here are a few tips to help you get started:
1. Choose the right program: When choosing which program to use for video editing, be sure that your computer can run Premiere Pro. This program is popular and well-supported, so you’ll likely have little trouble finding help online or within the software itself if you need help adding an adjustment layer.
2. Make sure your media is compatible: If your media isn’t compatible with Premiere Pro or other edit programs, it might not be able to process the adjustments that you make. Be sure to check with your media company before making any changes.
3. Make sure you have the right hardware When you install Premiere Pro, it will automatically detect your computer’s hardware.
Q. How do I add an adjustment layer in Premiere 2022?
A. Adding an adjustment layer in Premiere is a simple process that you can follow to improve your video editing workflow. First, open Premiere and click the File menu (or press F5) to open the Raw menu. Then, under the “Raw Files” tab, select “Adjustment Layer.”
In the resulting window, you’ll see a list of all of your existing adjustment layers. To add a new adjustment layer,click on the “New” tab and enter the name of your new layer into the field labeled “Name.” The new layer will be added to your timeline and will appear in the Inspector panel.
Q. How do I add an adjustment layer in Premiere Pro 2022?
A. Adding an adjustment layer in Premiere Pro is easy and can make a huge difference in the way your video looks. To add an adjustment layer, open Premiere Pro and click the + button on the bottom left.
Once you have added a new adjustment layer, name it something unique and remember to give it a value of 100 percent.
If your video has more than one shot in it, each shot will need its own adjustment layer. After you have named and assigned your Adjustment Layer, click OK to close Premiere Pro.
Conclusion: Tips for adding an adjustment layer in Premiere Pro
Adding an adjustment layer in Premiere Pro can add a touch of color and brightness to videos, photos, or graphics. But it’s important to be aware of the possible consequences of using an adjustment layer and to follow some tips to avoid making any unintended changes. Here are eight tips for adding an adjustment layer in Premiere Pro:
1. Start by understanding the adjustments that you’ll make. Adjustments can affect everything from color tone to resolution. So if you’re unsure what you’re adjusting, start by reading through the properties of the adjustment layer before making your changes.
2. Make sure that your footage is properly calibrated before starting with an adjustment layer. If your footage isn’t correctly calibrated, it will cause artifacts and other problems when editing and creating videos.
3. Be careful with how much brightness or color you add to an adjustment layer.
